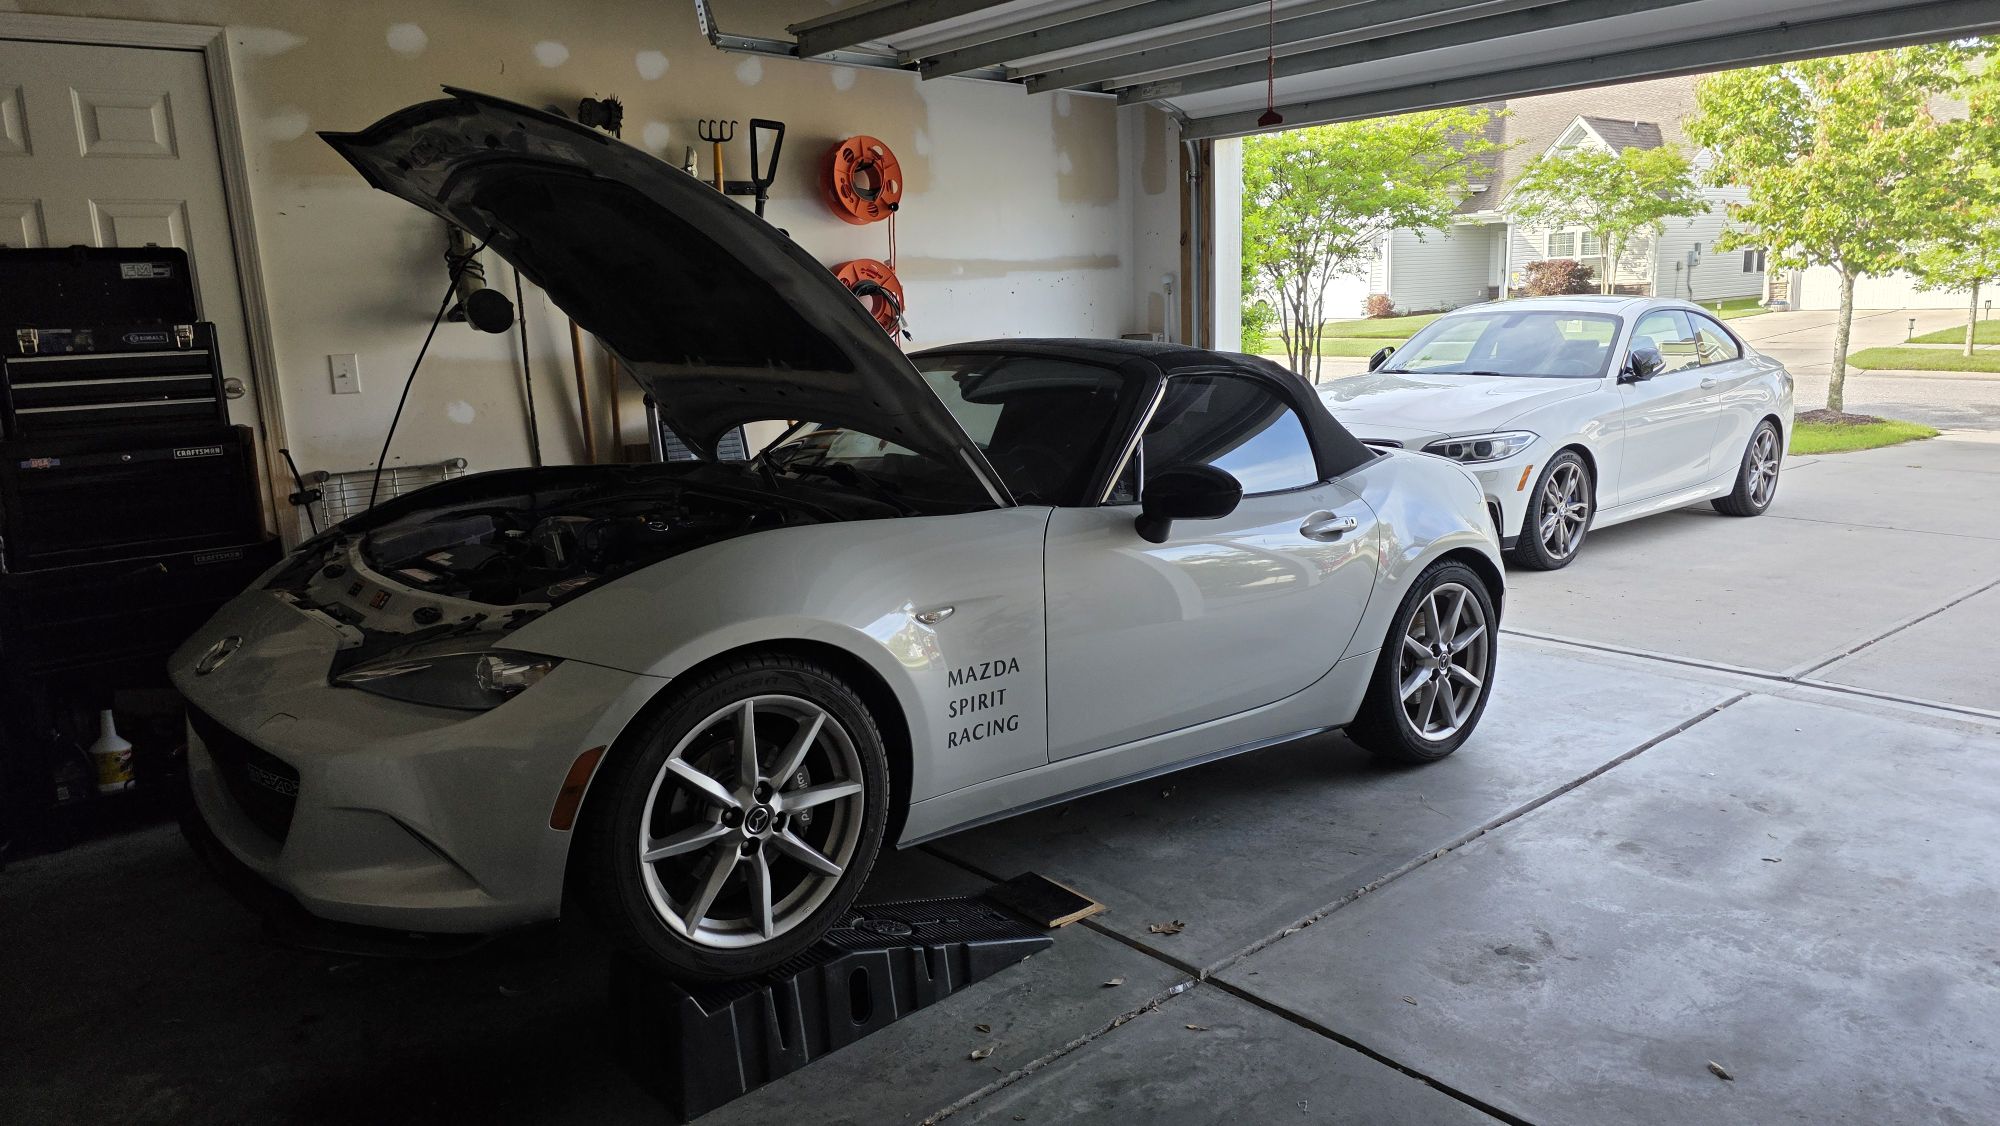
Miata’s at the Gap is just shy of four months away, so it was time to look over the ND and see what may need freshening up prior to the trip. I had not put a ton of miles on it since last year, however there were a few small items that had popped up. One of which was an oil leak.
The Oil Leak
When I did the ND2 head swap, I noticed a little smell of burning oil. The car had that prior to the head swap. I mean it had over 140k miles on it. It was bound to be a little leaky. However, in doing the swap I replaced every gasket on the exterior of the engine, except for the rear main as that meant dropping the transmission. And that area seemed dry from what I could tell. And…the oil smell was a little stronger than I remembered it being before the head swap. So, obviously it was something I did.
Since the head swap I have put about 1,000 miles on it. In that time I had zero coolant loss and only about a 1/4 of a quart of oil loss. Not bad really. But I still didn’t want the car to have a burning oil smell. Or really, leak any oil. But since it wasn’t leaving drops on my driveway and I didn’t see anything obvious after the first 100 or so miles after the swap, I thought it must have been some residual oil burning off that was spilled during the project.
Well after the afore mentioned 1,000 miles, it was still there. I took a look with a flashlight and saw some oil collecting on the top of the undershield tray that lives right under the oil pan. OK, leak confirmed. I stuck my hands all over the engine trying to find where the oil leak was originating. Everything I touched was bone dry. Valve cover, fuel pump, front cover, front main seal. All of it. Dry. So I figured it might be coming from the oil pan.
I put the car up on ramps, dropped the undershield and the oil pan was indeed wet. Not very, but it was still oil that should have been inside the pan. I cleaned it with brake cleaner until it was all dry. A trip to the part store later and I was back with a bottle of oil dye. In it went and I fired up the car.
I started the car and a few second later I could see some tiny drops accumulating by the front, right corner of the oil pan. I shined my UV light on it to illuminate the dye and bingo. Oil pan leak. I let it run for a little longer, giving it some gas to spin the engine up just to make sure it wasn’t leaking from anywhere else. It all seemed dry, no sign of glowing oil dye anywhere else.
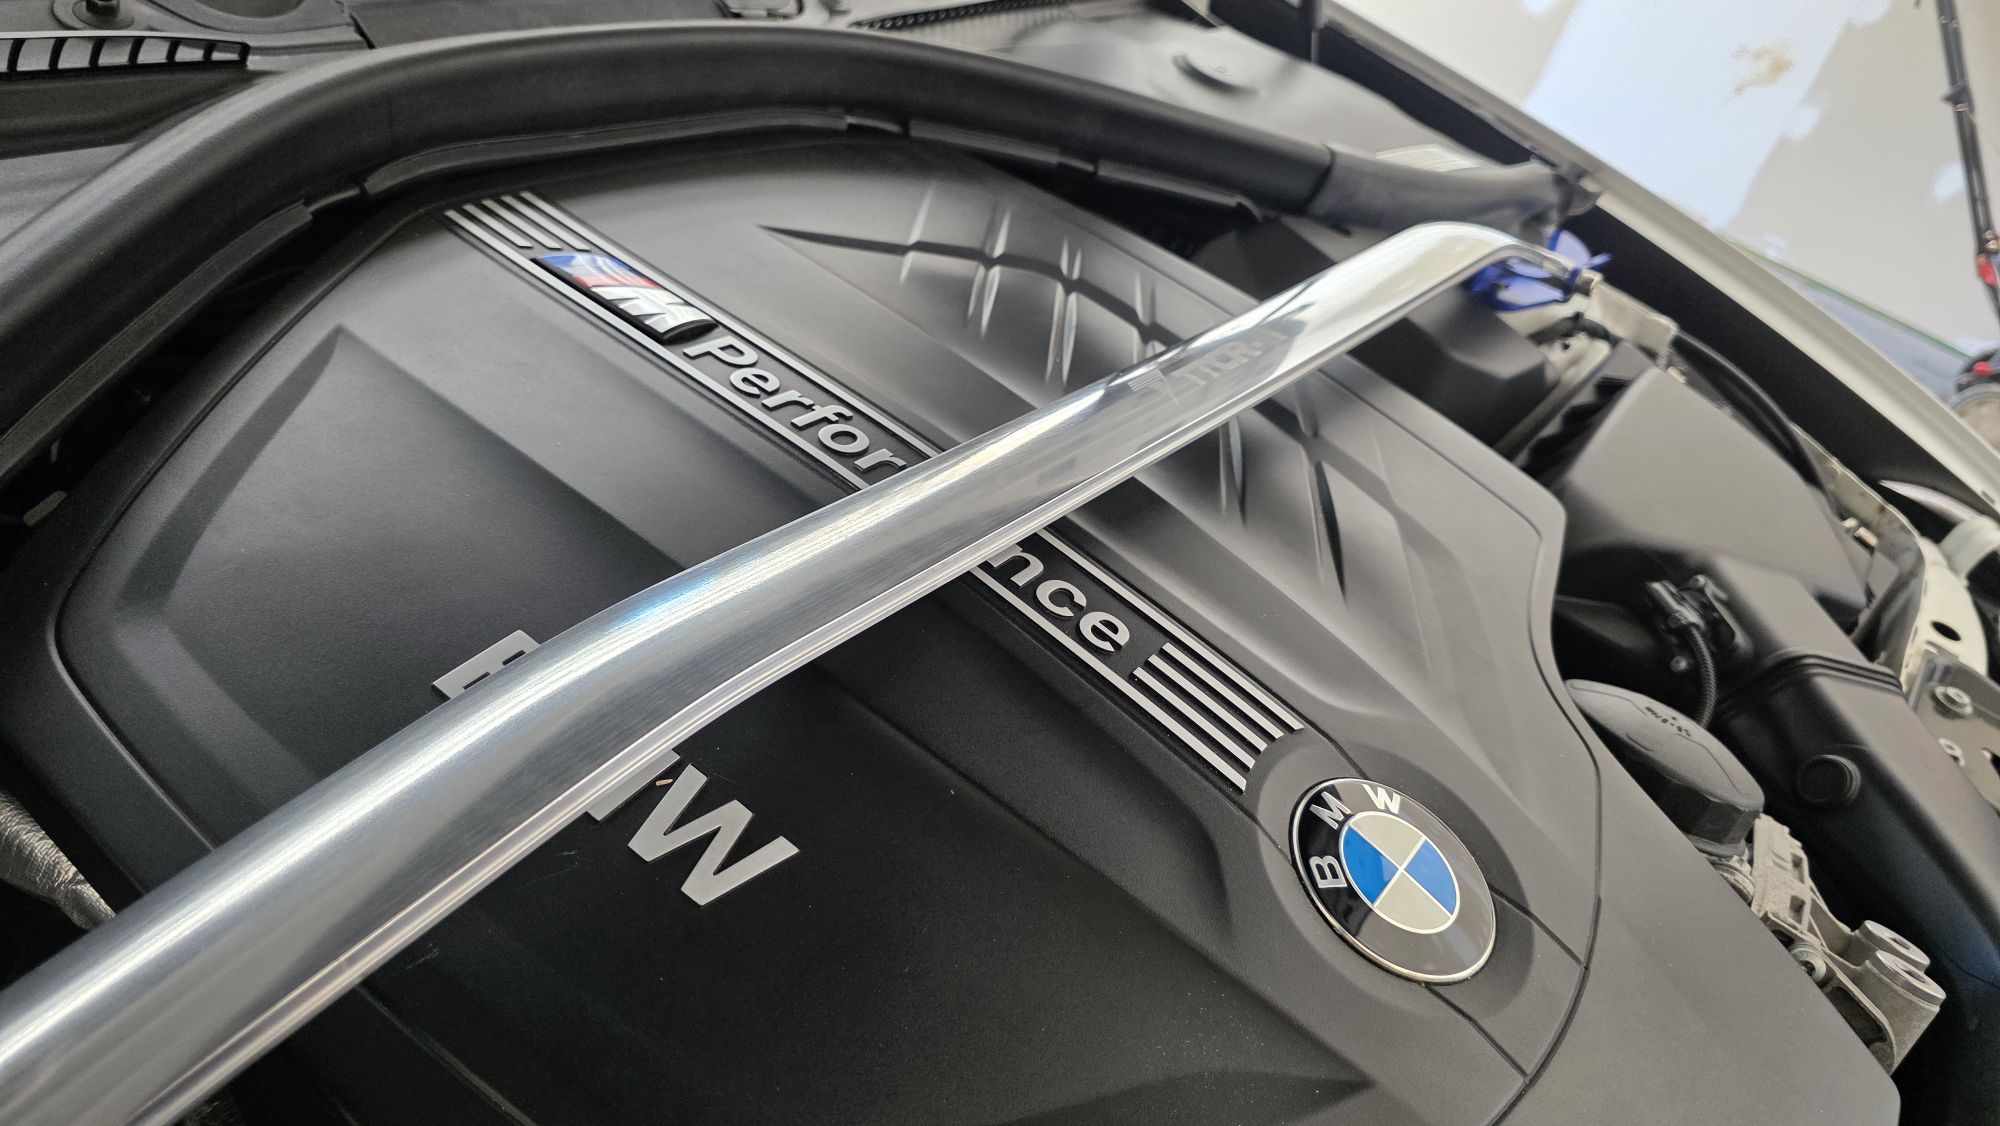
So I ordered some more Mazda RTV and new oil pan bolts. That brings us to this picture where I am dropping the oil pan to reseal it.

I’m glad I bought new oil pan bolts. When I did the head swap I reused the OEM ones. It took me about an hour to clean off the old RTV out of their threads. So for $8 I found some on Amazon and used those.

You can see the difference. Much, much easier to just use new.

If you want to buy a set, here is what I used. I just searched M6x1.0 16mm on Amazon and these came up. Just remember to use a small wire brush to clean out the threads on the block as well.
When I removed the oil pan I could see the problem. I don’t know what exactly caused it but the RTV did not seal very well against the block in that area. The rest of the block where the pan mounts was dry, but that corner was soaked in oil. I probably didn’t clean it well enough when putting it back on. It was one of the final parts of the swap that had taken days given my limited wrenching time so I may have rushed it a bit. I made sure not to do that this time. The pan and block got the brass wire wheel, razorblade scrape and brake cleaner treatment. I even repainted the scratched up mating surface of the oil pan for good measure. I laid down a thicker bead of RTV than last time and made sure to be very careful when mounting it.
I stuck it to the block and held it there for about 60 seconds, making sure it was lined up with all the bolt holes. After that I could remove my hands and it stuck by itself while I grabbed a few bolts to start the process. That made me feel better about the seal. I followed the shop manual’s tightening procedure and torque specs and called it good.
The next day I put about 55 miles on it and everything was bone dry. So, I’ll check that one off the list for now.
The Clutch Pedal
I also noticed that the clutch was feeling a little spongy. Not very bad yet, but I know this car and it was a little different.
Nothing super in depth here. I gave the clutch line a “quick” gravity bleed when I was finishing up the oil pan. Since the clutch line shares the same fluid as the brakes, I’m not quite sure how much fluid I ended up exchanging but it was certainly enough to at least cover the line. I think.
Either way, the clutch felt much better after that. The brakes also felt better! I didn’t touch the brakes but there must have been enough water or bad stuff in the system from the clutch line that it was affecting them too. Definitly a win-win.
The Rest of the List
The rear brakes are making a squeaky sound at low speeds when driving. It mostly goes away when braking. It sounds like I just need to re-grease the back of the pads, so my next small project will be tackling that. The pads and rotors only have about 2,500 miles on them so they should have plenty of life left. Hopefully it’s just a take apart, grease and reassemble situation. While I’m there I’ll give them a gravity bleed as well. They probably need it.
The sway bars seem to be good, no noises from the bushings but while I’m in there doing the brakes I’ll regrease those as well.
Otherwise the last thing in my list is a header and re-calibrated tune. I’m still running the ND1 header on my ND2 head. Other than being restrictive, the runners on the ND1 header are smaller than the ND2 header. So that’s just bad all around. A new header and a tune should wake the car up more which I’m very intersted in seeing. The ND1 camshafts with the ND2 head really amplified the midrange the car has. Goodwin Racing has a header that focuses on midrange so I may go that route. Play to the car’s current strength while still helping the top end as well.
That should pretty much get this car ready to tackle the Tail of the Dragon and it’s surrounding roads again. Is it overkill to prep like this for a road with a 35mph speed limit? Maybe. But it’s also fun. And the surrounding roads with similar twists and turns have limits of 45 and 55. So it’s not all wasted. Plus, why not have a car that’s more than capeable so I don’t have to worry about anything except for my skill level? There is a good feeling going into a turn knowing that car is not the weak link. If I drive smart and within my limit, my car has my back. That’s a much better feeling then knowing I have to take it easy or drive a certain way becaue the car has some issues. For me the preperation leading up to Miata’s at the Gap is as much a part of the event as the event itself. And it gives me a reason, a goal, to shoot for each year with the car. The Miata scene in the Charleston area is all but dead so this helps keep the flame alive for me.
Thank you for joining me on this journey and I’ll catch you in the next update.