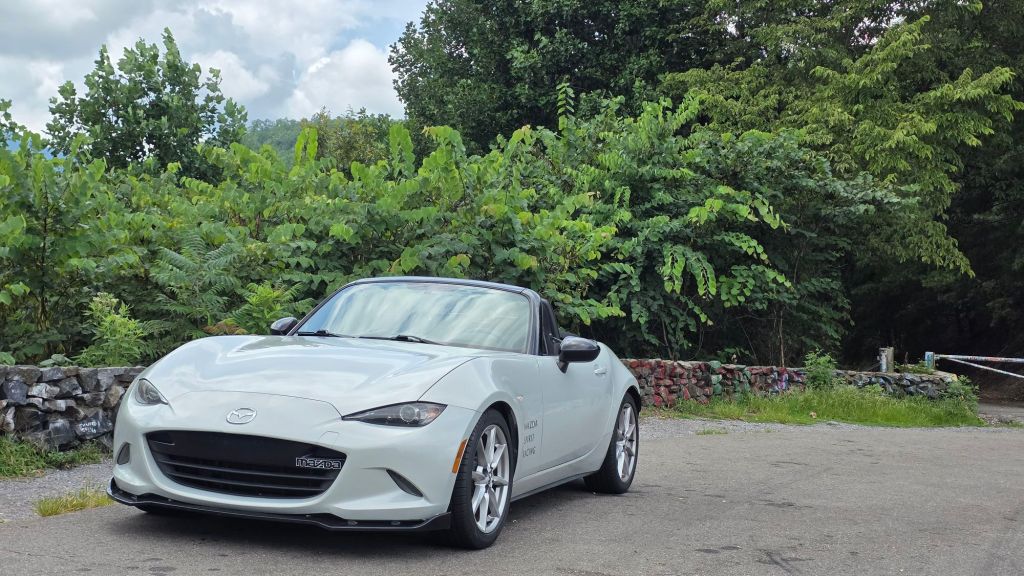
The curves were calling, and I was able to answer them fairly confidently during my time at the Tail of the Dragon. I spent more time on the surrounding roads than the actual Dragon but there wasn’t a bad road to be had. The whole area was littered with great driving roads.
My Miata was loving it. Turn in was great. Road holding was excellent. The car just went anywhere I put it. The brakes were…functional. In truth they were not that bad. The rotors had less than 5k miles on them, same with the pads. Tons of life left. The brake fluid should have been flushed prior to going up for good measure but it was still clear and looked clean.
Approaching a turn where I needed to brake before going into it never filled me a sense of dread. But it also never made me feel as confident about my brakes as I was with my suspension. I could give a little tap of the brakes on entry or mid-corner if I needed a correction just fine. I could also slow down as needed for the most part. There were a few areas though, especially the first time out, where I felt I wanted a little more brake.
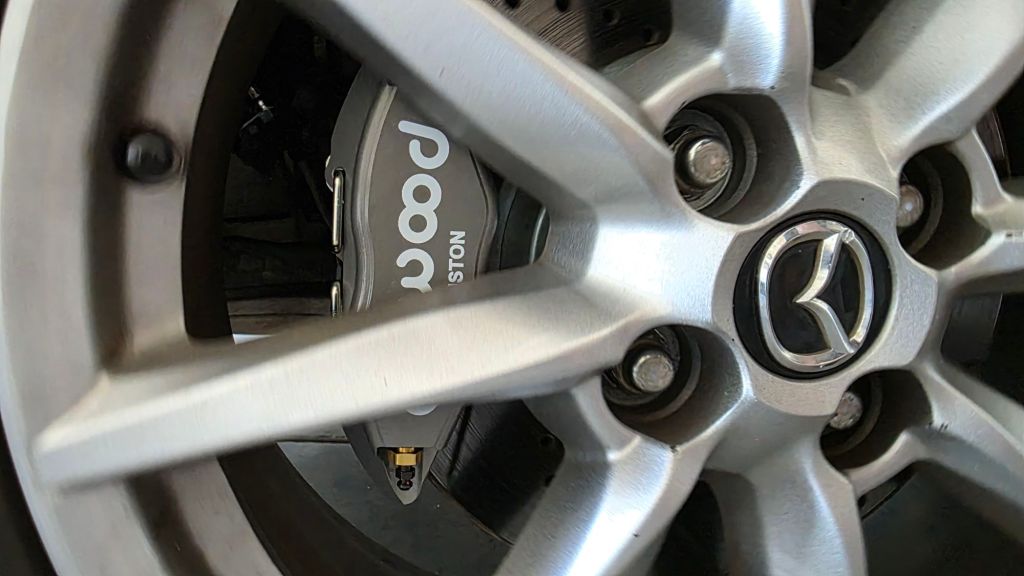
This was compounded two days later when I was on the Dragon and a vehicle in front of me decided to turn onto a road at the last minute. I stopped. But it did not feel great. The car slowed down with some authority, but I felt like I didn’t have quite enough bite. By then I had already placed my order with Flyin’ Miata for their Little Big Brake Kit. But that experience made me feel even better about the decision.
Fast forward to a week later and it arrived. I had to wait a few days before I could install it. When my day off of work finally came, I started early in the morning.
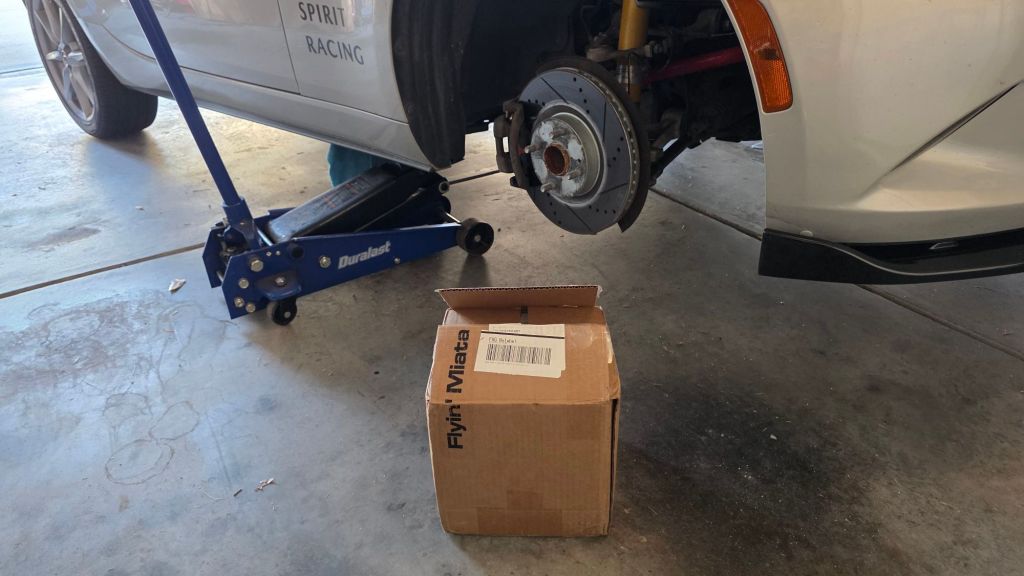
Everything came apart nicely. With the rotors and pads having already been changed recently, there was no drama with the caliper or it’s mounting bolts. The brake line gave a little resistance. I tried using a normal 10mm wrench but ultimately had to run to the parts store a mile down the road to grab a flare wrench. What a difference that made! The nut gave a little struggle, but it cracked loose fine.
I waited to crack the brake line loose though until I was ready to mount the new line to avoid making a mess. Once the old caliper was removed, I tucked it up into the suspension while assembling the new caliper so I could keep the OEM brake line connected. I re-used the rotors that were on there as they had minimal miles on them.

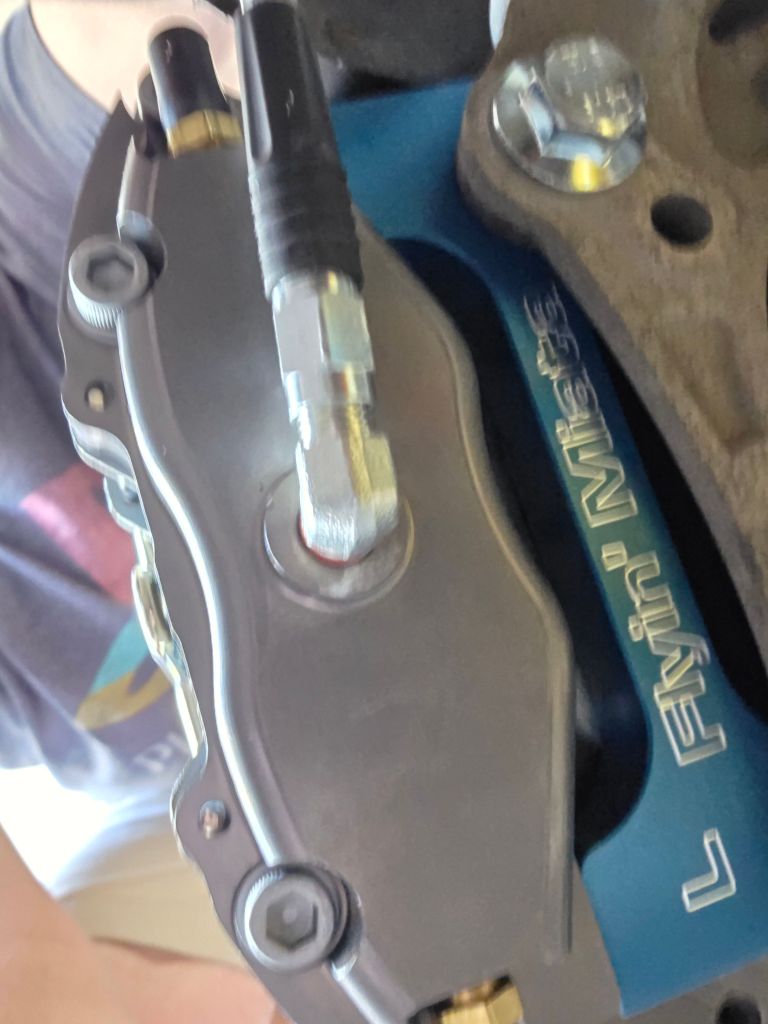
I assembled the calipers based on Flyin’ Miata’s instructions but hit a snag when it came to installing the brake line elbow adapter. The adapter has two distinct ends on it, but both of them can thread into the caliper. One has thread lock applied and the other one doesn’t. This is where my confusion came from. The instructions say to apply thread locker to the adapter before screwing it into the caliper. I took this to mean that the side without the thread locker already applied needed some and that end threaded into the caliper. This worked great until I went to attach the brake line which would not thread on. I thought it was interesting that the caliper would accept both ends, but not the brake line. Either way, something wasn’t right.
Some googling later and I realized that the side that already had the thread locker on it was the caliper side. It may be obvious for a lot of people but that was my first foray into Wilwood calipers. They may want to update the instructions since they updated the part to already have the thread locker. Or at least show a detailed picture of the adapter, clearly labeling which end goes where.
After I got that figured out and everything tightened down or torqued to spec, it was time to bleed. I had never bled brakes before. I installed the passenger side first and initially tried to use a one way check valve that I bought on Amazon to help. But try as I might, I could not get fluid to come out. On closer inspection I realized that the bleed valve was a 2 piece. There was a big brass piece and small black nipple. I didn’t realize it, for a while, that the black nipple was actually what needed to be cracked loose, and not the big brass fitting.
Once that was figured out, I decided to just gravity bleed it. On these calipers there are two bleed screws on top that need to be bled. So I cracked them both loose and just let them drip while I worked on the driver side.
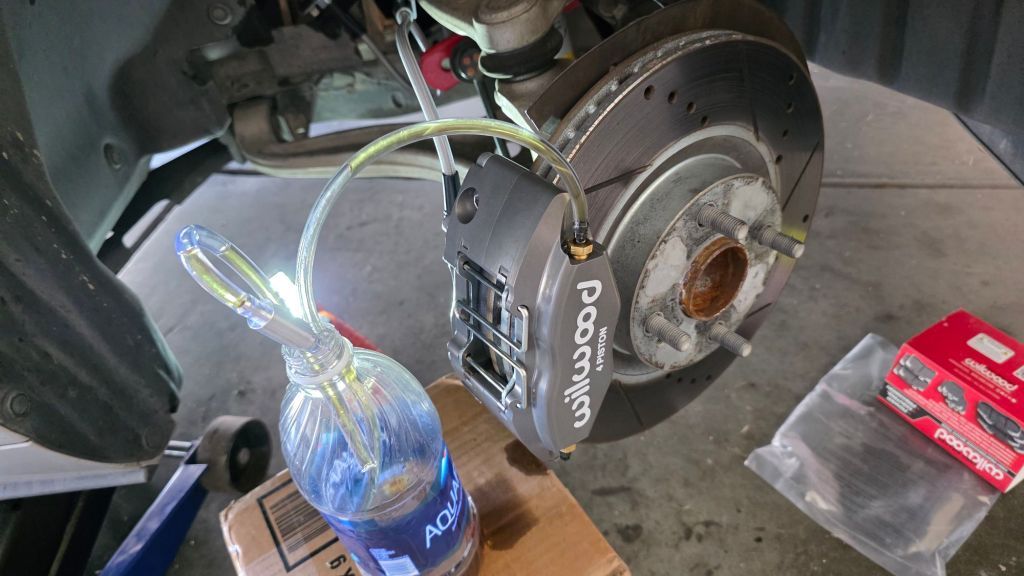
When the driver side was done, which took way less time as I knew what I was doing now, I checked on the passenger side. Fluid was coming out clear and no bubbles. I topped up the brake fluid again and moved my bottle and hoses over to the driver side. I waited until the fluid started coming out. It took some time as there a lot of air to now be worked through. After a few minutes though the fluid was flowing. I let it gravity bleed while I cleaned up all the tools, trash and whatever else was laying around.
When I was done, I checked on it and no visible bubbles were in the line. Time to close it up, top off the fluid and pop the wheels on. A few minutes later the car was ready for a test drive.
Initial impressions were good. After a few light stops to allow everything to settle in the pedal feel was very good. Firm with incredibly short pedal travel before they started to bite. I did the recommended bedding in procedure for the pads. It was pretty clear that these brakes were worth the upgrade. With the OEM brakes, the car would come to a stop just fine. With this kit, the car comes to a stop with noticeably more authority. I wouldn’t say it’s night and day as the factory brakes really did do an adequate job. But these calipers bring the speed down much more abruptly when you get on the pedal.

Overall it took me about 3-3.5 hours from jacking up the car to taking it for a test drive. Most of that time was spent on the passenger side, figuring it out and going slowly. The driver side took me about 15 minutes. Not a bad way to spend a morning. In the garage, doing an upgrade while listening to music and podcasts.
I feel this kit was a great compliment to the suspension and was the right next piece to upgrade. I’m not calling the suspension on the car “done” yet. But I think now I can shift my focus back to the engine and try to squeeze some more horses out of it. I’ll see you in the next update!