[I forgot to send this prior to leaving for the event. Sorry, it’s my first day. 🙂 -Supergoat]
It’s a wrap! The car is fully prepped for Miata’s at the Gap. Fully prepped as far as what I planned to do anyway as there is always something to do. But my list of realistic modificatons and maintainence items that I was to complete before the event is fully scratched off. I’ll run down everything here. Most of it was already posted about but some things will be unveiled here.
Suspension
The OEM Club suspension on my 2016 was perfectly fine for daily use and offered up a fun driving experience. But when pushing the car it would lean and roll a bit more that I would like. I gave myself a budget of $1000 to sort that out. As it usually goes, I went over but not too much.
My first purchase was a set of Flyin’ Miata springs for it. I could have used them with my factory Bilstein shocks as they were still in good condition. Flyin’ Miata even recommends it for the 16-17 models with the slightly stiffer shocks. However, mine had 140k miles on them and since I didn’t want to do this all over again any time soon, I went ahead and replaced them with a set of stiffer Bilstein B8 shocks.
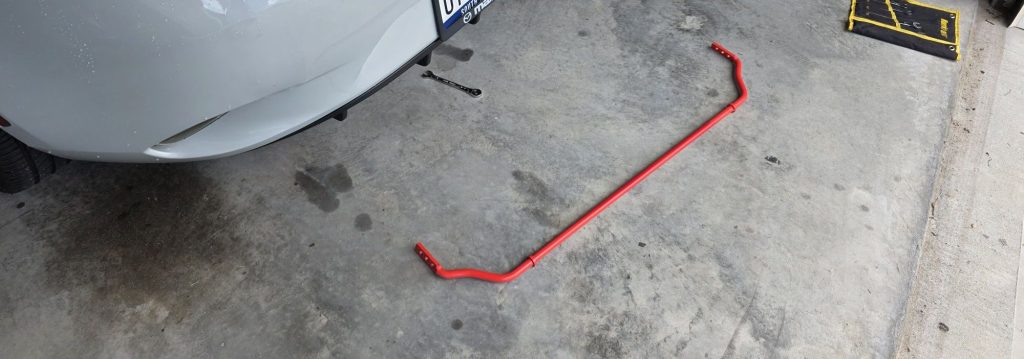
When I turned my attention to sway bars I decided to go with the OEM bar from a Fiat 124 Abarth as it’s the same chassis and uses a slightly stiffer bar. I was concerned about adding more oversteer so I figured this would be a nice, mild upgrade. That proved to be the case but it turned out that it wasn’t enough rear bar to match the front one I bought.
For my front bar I found a used RoadsterSport sway bar from a wrecker for fairly cheap. Installation was a bit finicky and time consuming but nothing that I couldn’t do. It took 3.5 hours using the video by Flyin’ Miata as a guide.
With this setup, the car felt very good. Much flatter and planted feeling through corners while still having decent ride quality. It was noticeably firmer but not uncomfortably so. My first drive with the front sway bar revealed the Abarth rear bar to be a weakness. It wasn’t enough and the car wanted to understeer when pushed, moreso than before. I don’t feel that there was anything inherently wrong with that setup, it just didn’t have that feeling I was after.
So I took to eBay and the wrecker that I bought the used front bar from, had the matching rear one still. So I bought it. With that bar on the softest setting it was still stiffer than the Abarth bar and was just enough to give the car the feeling I wanted which was much closer to neutral feeling.
Maintenance
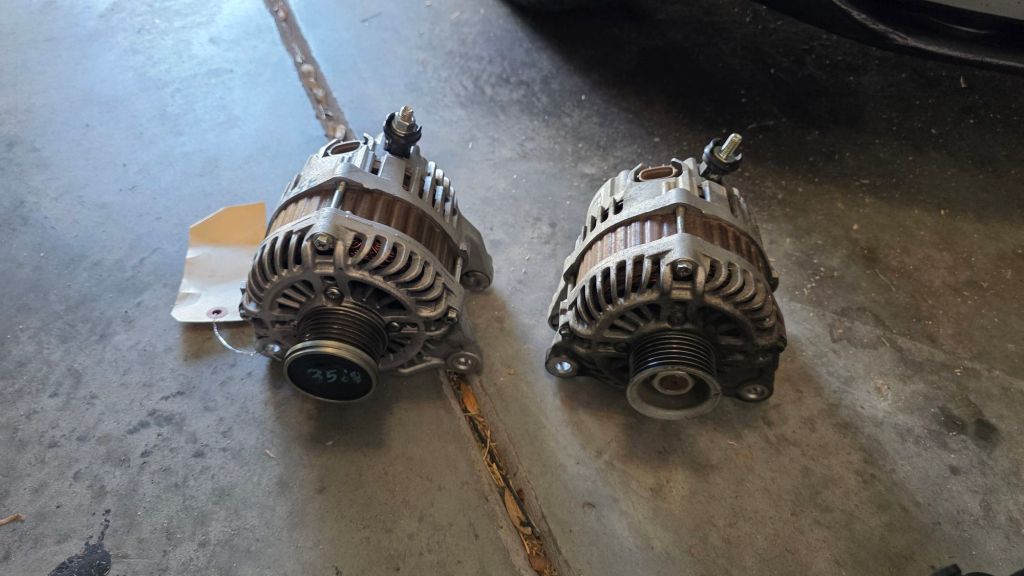
With the higher mileage on this car I wanted to make sure that I took care of potential fail points. My battery was on it’s last legs and needed to be replaced much sooner than later. With that, I decided to also reaplace the alternator. I didn’t need brand new, but one with much less mileage on it for sure. These cars do not really have issues with their alternators but I found one with only 20k miles on it for $50. For peace of mind I felt that was a winner.
While doing the install I accidentally forced the belt tensioner the wrong direction and broke it. Luckily the Autozone less than a mile from me had one in stock. The belt was replaced when I did the AC compressor last year and was still in great shape so I re-used it.
I also recently replaced the ignition coils as well for peace of mind. Again, not usually a fail point on these cars but at 140k, may as well.
I thought about doing the water pump as well but It looks to have been replaced previously. There were no signs of leaking or wear and since it most likely had a lot less mileage on it than the other accessories I decided to leave it. Hopefully that won’t prove to be the wrong decision.
Some Extras
The suspension was sorted. The charging and ignition system was sorted. The car was ready to go. So I decided to add a few extras.
My car is an ND1 with the lower redline, but it’s running a Fab9 Tune which gives it a 7400rpm redline. The stock RPM gauge on the ND1 starts to indicate redline around 6500rpm, whereas the ND2 starts after 7000rpm. It’s a small thing but something I wanted.
The first thing I did was transfer the OEM RPM “ring” to my ND1 cluster and was very happy with it. But curiosity got the best of me and I decided to plug in the ND2 clutser to see what would happen. Mainly because it had the nice color LCD screen on the left hand side. It worked! But it threw a lot of errors. The cluster was from a 2019 Grand Touring so it was looking for a few options mine did not have like the a front facing camera and blind spot. Also the odometer was way off. That was expected.
There is a guide on Miata.net that details how to make this swap work. I didn’t go into this wanting to get that deep in it. Reading more about it though, it seemed to be a pretty simple procedure. Here is the Link to it.
It involves downloading a program called FORScan and having the proper OBD to USB cable. Luckily the cable I used to flash VersaTune to my car also works with FORScan. To make a long story short, I essentially used the program to tell the ND2 gauge cluster that it was a Club with less options than it was expecting. This worked perfectly. Once the new configuration file was uploaded to the gauge cluster there were no more errors and it worked just like my old one, except it still had the wrong miles.
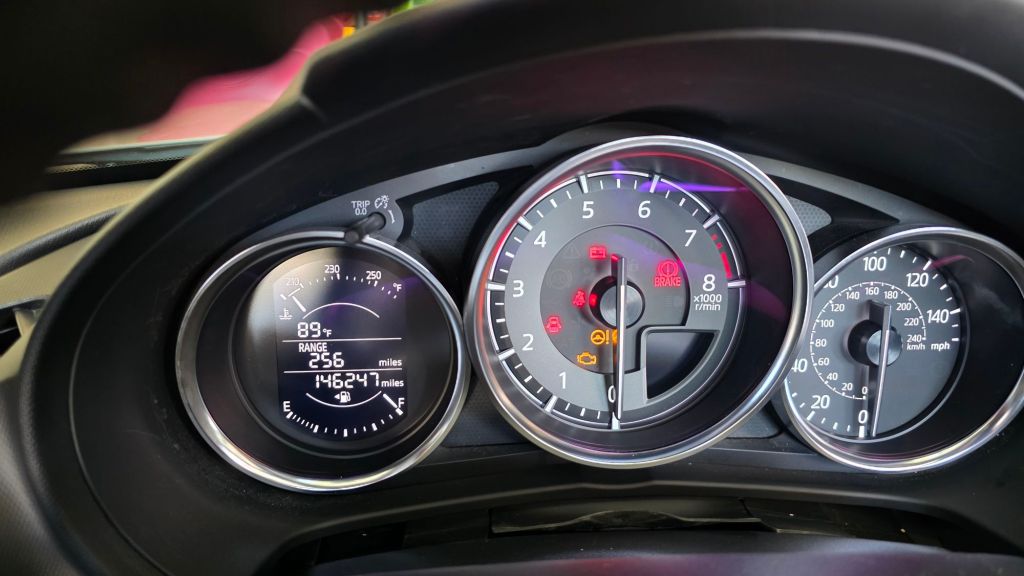
I absolutely did not want the car to have a rollback or be classified as “Not Actual Miles” so I was able to have the new cluster’s miles updated to reflect the actual mileage on the car and match the original cluster’s mileage. I’m not going to go into detail on that. But the new cluster is now showing accurate mileage and true to the car with photo documentation. I made sure not to drive the car prior to doing this as well. This is a forever car for me so it may not mean anything, but to me I like knowing it didn’t drive with the wrong mileage on the car.
Here is the gauge cluster before I had the mileage corrected:

This is one of my favroite modifications I’ve done. It updated the look of the interior, the redline matches my tune and makes the car feel more modern.
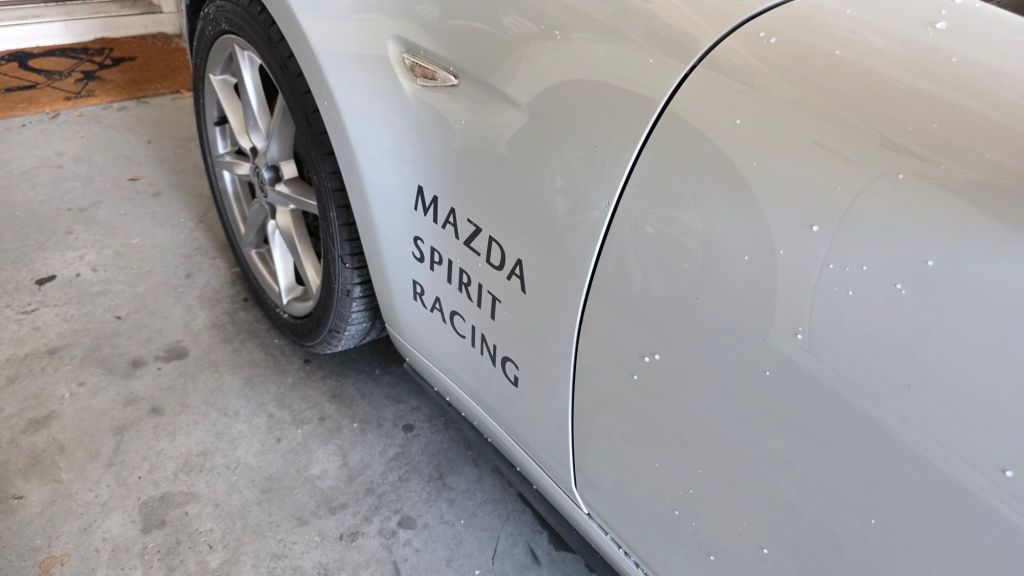
Next I want to spice up the exterior just a little for the upcoming event. Nothing extravagant but a small touch to be festive. I settled on replica Mazda Spirit Racing graphics. I did the side ones and the hood stripe. I loved the look when I saw pictures, but in person I felt the hood stripe was a little too “busy” looking so I removed it and just went with the side decals. I also added an old school “Mazda” logo to the grill, as a nod to 1.6L Miatas that started it all.


With all that done, all that’s left is to head up to Fontana. I’ll see you there!