It was time to complete the suspension. I was waiting for a cooler day to do the install. Today the high was “only” 93, but I started at 7am when it was only 77. It took me about 3.5 hours total and got progressively hotter while doing it. I had a big box fan blowing on me the entire time so while I did lose 4lbs in sweat, I actually did weight myself before and after, I wasn’t completely miserable.
There are writeups and videos on the install process already, so I’ll link to the video I used to help me with the process and share some of my thoughts and take-aways from the installation.
Here is the video I used. Flyin’ Miata did a great tutorial on doing this install without dropping the subframe or steering rack. If you are looking at doing the front sway bar on your ND Miata, I cannot recommend this video highly enough.
They are obviously installing their own front sway bar but the process is the same no matter what you go with except for Karcepts as they are their own beast.
The most tedious part of the job was removing all the splash panels. There were a LOT of screws and plastic clips to keep up with. Undoing the radiator mount wasn’t too bad except for the top one on the driver side. You’ll see it in the video, but the AC line is in the way and makes getting it out frustrating. I finally got it after much wiggling and moving it around.
The endlinks and brackets for the sway bar all came loose perfectly fine. One thing I found odd was that my gear-wrench fit on the top nut perfectly fine on the passenger side, but there wasn’t enough room on the drive side for it. Luckily, I had a slightly thinner, non-gear wrench that did fit and I was able to get it off, just took a bit longer. All the electrical connections came off without much fuss and the coolant hose on the passenger side unbolted fine and was moved out of the way with no issues. Mine is an ND1 so I did have a coolant temp sensor to unplug which took a little tugging, but broke free eventually. A little silicone grease helped there.
The real pain of the install and why it took me 3.5 hours was getting the old one out. Doing this method leaves almost no room for the OEM bushings to squeeze between the unibody and subframe. After a long time and re-watching that part of the video. I just grabbed a serrated kitchen knife and cut one of the bushings. I don’t know why Mazda decided to permanently attach them to the bar, but they did. The rubber was thick and took a lot of effort, but it wasn’t impossible.
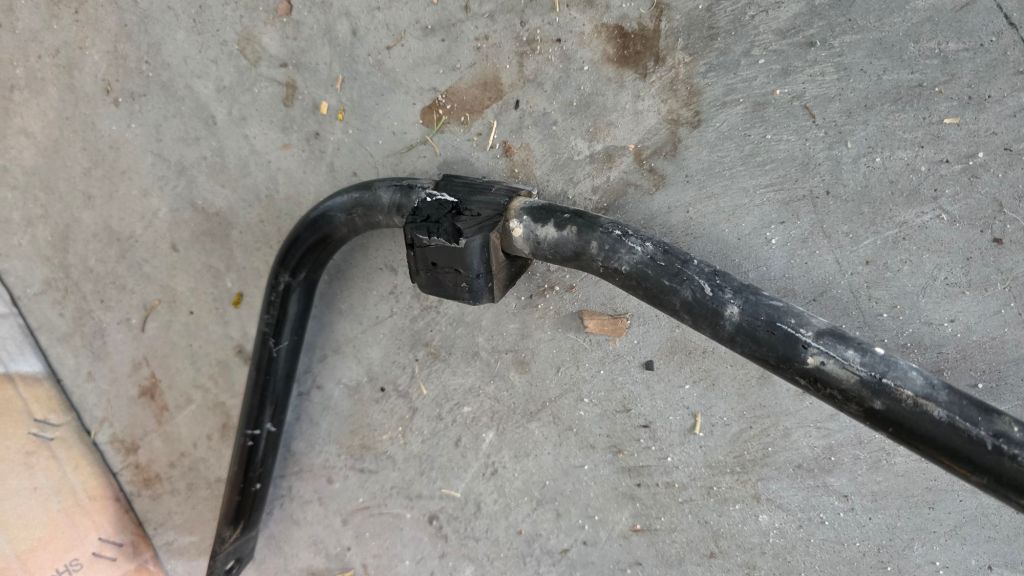

This was a game changer. The video says to squeeze the bushing through, and I tried. I really tried. But then I thought that there is no way I’m doing this again and have no use for the OEM bar after this so there is no sense in trying to save it. Once I cut away enough of the OEM bushing the bar slipped right through. However, it was still a pain to get the bar in the exact right position and snake it though. I ended up removing the passenger side DRL light in the bumper to make room. Finally, I was able to get it out of there. Then came the process of getting the new bar in.
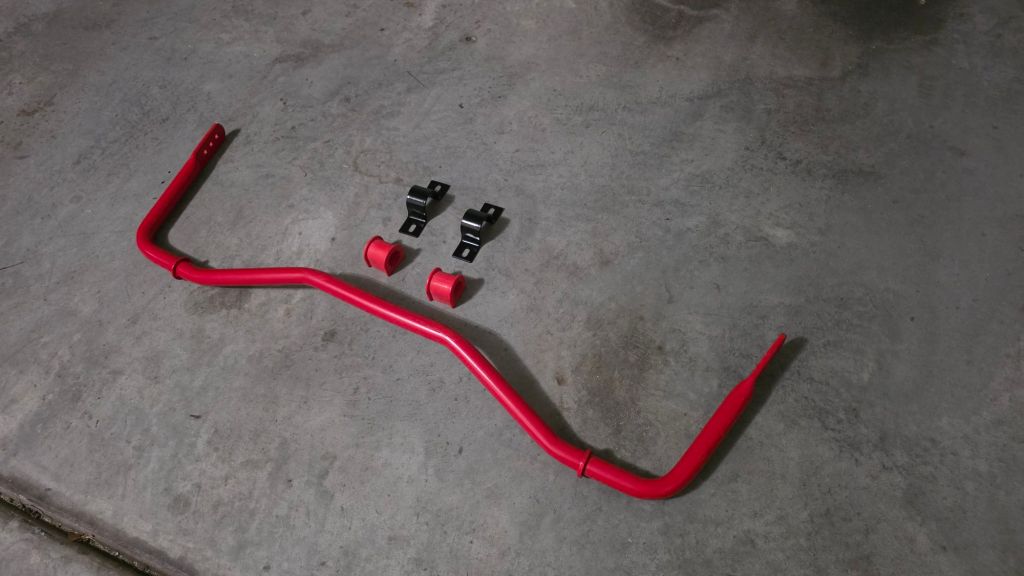
In theory install should be much easier since the bushings are not permanently attached to the bar like the OEM one. And in practice it did help but this bar is much thicker than OEM and that made a difference. But after watching the video again, I was able to get the bar situated and through. But I did end up scratching it up in the process. Not terribly but enough to annoy me. Using this method I don’t see how to avoid that. But I can always go back in with a brush and touch it up so it won’t rust. Which is what I’m going to do on my next day off.

Once everything was bolted in place, the next step was to put it all back together again. I have not taken it for a drive yet, that will be in a few days. Once I got the car all back together it was time for a shower. A long, long shower. I’m starting it out on the middle setting and will adjust it based on what I feel the car wants as recommended by the manufacturer.
With that, the suspension has been sorted. New shocks, springs and sways all done. The car is nearly ready for Miatas at the Gap which is coming up in just a few short weeks. I can’t wait. This car should be fun!